
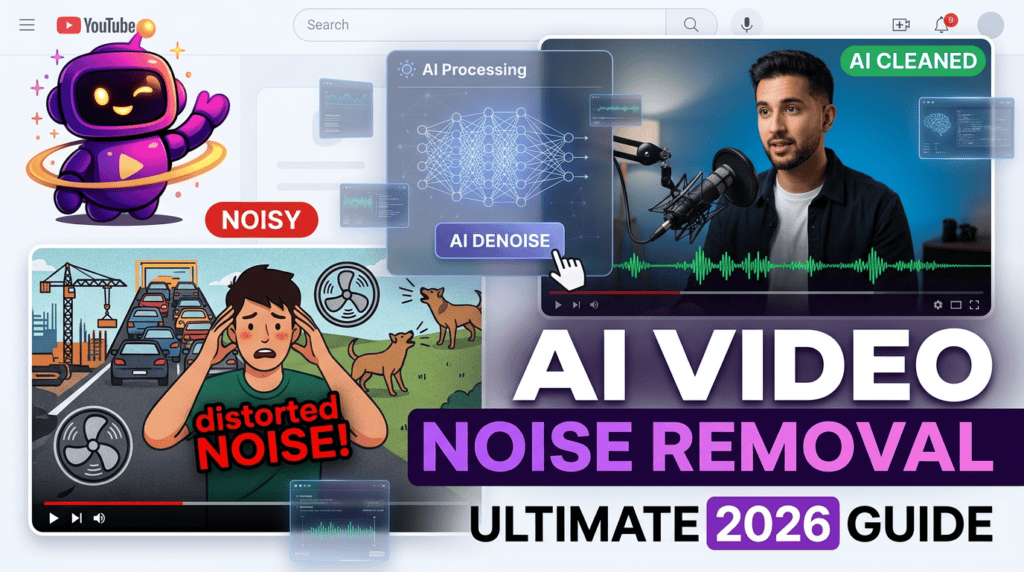
A great video with noisy audio still feels unwatchable. Traffic hum, a barking dog, or a rattling AC unit in the background is often the single biggest reason viewers click away in the first ten seconds.
The good news: you don’t need a soundproof studio to fix it. This guide walks through exactly how to remove background noise from video footage using AI, plus the manual options, common noise types, and mistakes to avoid.
Quick Answer
To remove background noise from video, upload your clip to an AI voice isolator, let the model separate speech from ambient sound, then export the cleaned audio back into your video. Tools built for this — like ytZolo’s Audio Studio — usually finish the job in under a minute, no manual editing required.
Manual tools like Audacity or Adobe Audition can also do it, but they demand real editing skill and far more time. We’ll compare both approaches below.
Table of Contents
What Causes Background Noise in Video
Most unwanted sound in a recording falls into two buckets: environmental noise and equipment noise.
Environmental noise includes traffic, wind, chatter, barking dogs, and appliance hum. Equipment noise comes from cheap microphones, room echo, or electrical interference in the signal chain.
Both end up mixed into the same audio track, sitting right on top of your voice. That’s exactly why simply turning down the volume never fully solves the problem — it just makes everything quieter, voice included.

Why Removing Background Noise Actually Matters
Viewers forgive average lighting far more easily than they forgive bad sound. A hissy, echoey, or noisy track is one of the fastest ways to lose an audience mid-video.
Noise also drags down automatic captions and transcripts, which hurts both accessibility and searchability on platforms like YouTube. For a deeper look at how audio and watch time affect discovery, see this guide on getting more views on YouTube with AI.
Clean audio also just reads as more professional. Two creators with identical content will get very different retention numbers if one has crisp dialogue and the other has a rattling fridge in the back of every shot.
Two Ways to Remove Background Noise from Video
There are really only two paths here: let AI do it, or do it manually.
AI-based tools analyze the audio, recognize what a human voice sounds like, and rebuild a clean version — usually in seconds to a couple of minutes, with no editing skill required.
Manual editing in software like Audacity or Adobe Audition gives you surgical, frame-by-frame control, but it’s slow and has a real learning curve. For a full side-by-side breakdown of when each approach makes sense, ytZolo has a dedicated comparison on AI voice isolators versus traditional audio editing software.
For most creators publishing regularly, AI is the practical choice — it removes background noise from video files fast enough to fit into a normal upload schedule.
How AI Actually Removes Background Noise
Under the hood, an AI voice isolator doesn’t just lower volume in certain frequency ranges the way an old-school noise gate does.
It converts your audio into a spectrogram — a visual map of sound over time — and uses a neural network trained on speech patterns to tell the difference between a human voice and, say, a fan hum, even when both sit in a similar frequency range.
Once the model identifies what’s voice and what isn’t, it separates the two layers, strips the non-voice layer, and reconstructs a clean voice track. The full technical breakdown, including spectrogram analysis and voice embeddings, is covered in ytZolo’s AI voice isolator guide.
This is also why AI tools tend to sound more natural than older noise-reduction plugins — they’re rebuilding the voice, not just muting everything around it.

Step-by-Step: Remove Background Noise from Video with AI
Here’s the actual workflow, using ytZolo’s Audio Studio as the example:
- Upload your video or audio file. MP4, MOV, MP3, and WAV are all supported, so you don’t need to extract the audio track yourself first.
- Select the Voice Isolator tool. The AI scans the file and detects speech versus background sound automatically.
- Let the AI process the file. Short clips typically finish in under a minute; longer files may take a few minutes.
- Preview the cleaned track. Listen before exporting to confirm the voice still sounds natural.
- Export and re-sync. Download the cleaned audio, or send it straight into another Audio Studio tool for dubbing or voiceover work.
Because the isolator lives inside a full Audio Studio, the same cleaned track can move directly into voice generation or dubbing without bouncing between separate apps.
Common Background Noise Types and How AI Handles Each
Not all noise behaves the same way, and AI handles some types better than others.
Steady hum (fans, AC, fridges): These are consistent, predictable frequencies. AI voice isolators handle this category extremely well.
Traffic and outdoor ambience: Variable but still distinct from speech patterns. Most tools clean this up effectively, though heavy traffic close to the mic is harder.
Room echo and reverb: Common in untreated rooms with hard floors and bare walls. AI reduces it noticeably, though very live rooms may still need a follow-up pass.
Wind noise: Light wind is usually fixable. Heavy wind distortion overlaps too closely with vocal frequencies, so it’s one of the tougher cases.
Overlapping voices: AI can separate one dominant speaker from background chatter reasonably well. Accuracy drops once three or more people talk at once.
The honest takeaway: AI voice isolation is a strong repair tool, not a miracle fix for a badly clipped or distorted original recording.
Voice Isolation vs. Noise Reduction: A Quick Clarification
These terms get used interchangeably, and that’s part of why so many people search for how to remove background noise from video without realizing there are two different techniques involved.
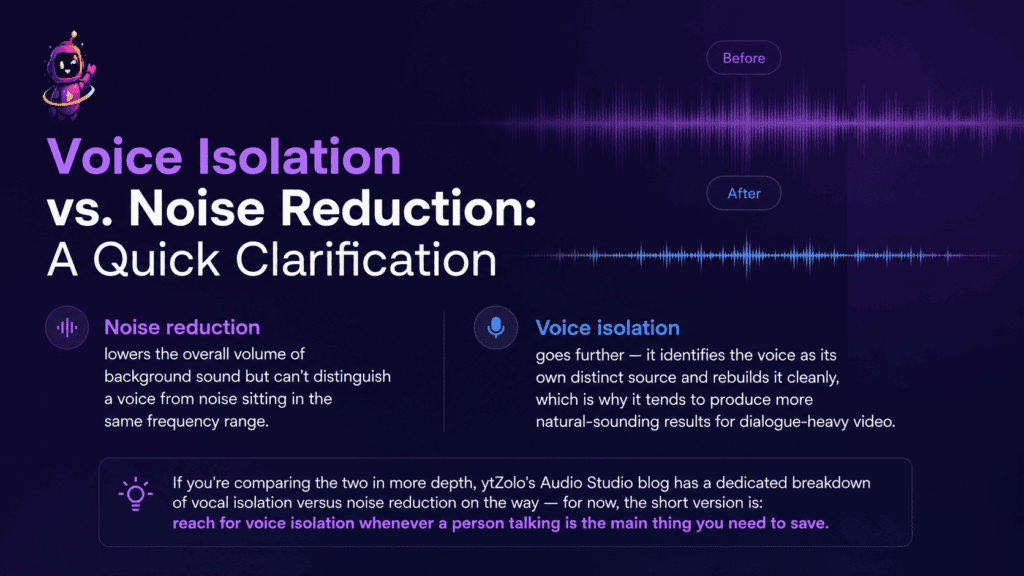
Noise reduction lowers the overall volume of background sound but can’t distinguish a voice from noise sitting in the same frequency range.
Voice isolation goes further — it identifies the voice as its own distinct source and rebuilds it cleanly, which is why it tends to produce more natural-sounding results for dialogue-heavy video.
If you’re comparing the two in more depth, ytZolo‘s Audio Studio blog has a dedicated breakdown of vocal isolation versus noise reduction on the way — for now, the short version is: reach for voice isolation whenever a person talking is the main thing you need to save.
Removing Background Noise for Specific Use Cases
Cleaning up audio isn’t just a YouTube-editing step — the same core technique shows up across a few adjacent workflows.
Dubbing and localization: Clean source audio produces noticeably better dubbed results, since the model isn’t fighting background noise while matching timing and tone. ytZolo’s guide to AI dubbing software covers how isolation fits into that pipeline.
Pulling vocals out of a song: This is technically a different flavor of the same technology — separating a singing voice from music instead of separating speech from ambient noise. It’s a common enough need that it deserves its own dedicated walkthrough, which ytZolo’s Audio Studio blog will cover as a standalone comparison soon.
Podcast and interview cleanup: A remote guest joining from a noisy café is one of the most common real-world cases. Isolating their voice can salvage an otherwise unusable segment.
Each of these leans on the same underlying spectrogram-and-neural-network approach described earlier — just pointed at slightly different problems.
Before You Hit Record: Reducing Noise at the Source
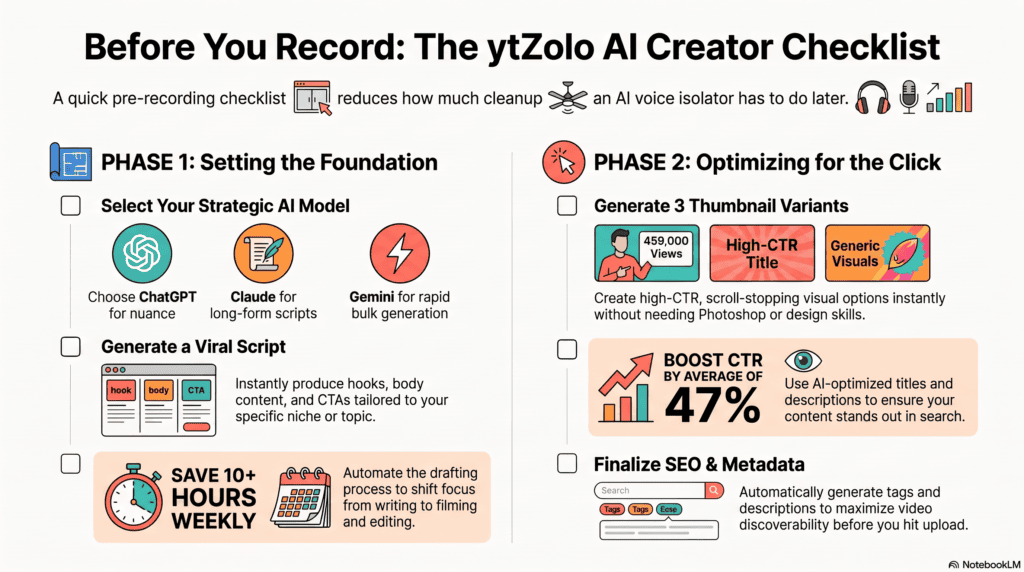
AI cleanup works best when it isn’t doing all the work alone. A few habits before recording cut down how much noise needs fixing later.
- Turn off the AC or fan in the room
- Close windows to cut outdoor sound
- Keep input gain around -12dB to avoid clipping
- Record in WAV format when possible, since it’s uncompressed
- Monitor with headphones while recording
Planning this out ahead of time is part of the same pre-production habit as outlining your video — it really does start with a script, since knowing your shot list also tells you where and when you’ll be recording, and whether that spot is quiet enough to begin with.
Free vs. Paid Tools Compared
| Approach | Speed | Skill Needed | Best For |
|---|---|---|---|
| AI Voice Isolator (ytZolo, Krisp, Cleanvoice) | Seconds to minutes | Low | Everyday cleanup, batch uploads |
| Manual Editing (Audacity, Adobe Audition) | Hours | High | Precise, one-off surgical fixes |
| Browser-based free tools | Minutes | Low | Casual, occasional cleanup |
| Descript | Minutes | Low-Medium | Transcript-based editing workflows |
Free tiers are usually fine for occasional creators. Anyone uploading weekly will feel the difference in time saved from a dedicated Audio Studio workflow versus juggling separate apps for isolation, export, and re-sync.
Mistakes That Ruin Your Cleaned Audio
A few habits quietly undo good cleanup work:
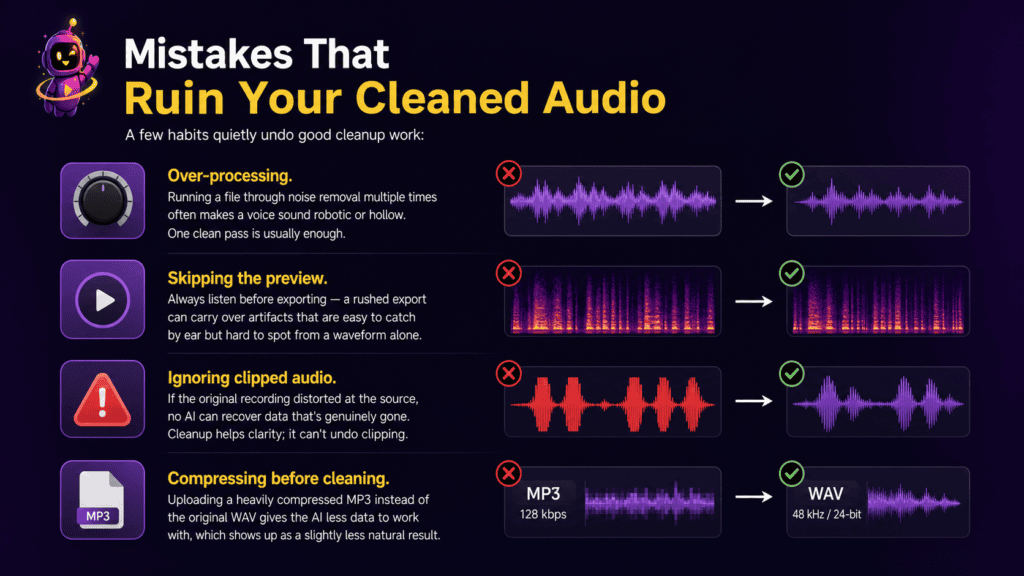
Over-processing. Running a file through noise removal multiple times often makes a voice sound robotic or hollow. One clean pass is usually enough.
Skipping the preview. Always listen before exporting — a rushed export can carry over artifacts that are easy to catch by ear but hard to spot from a waveform alone.
Ignoring clipped audio. If the original recording distorted at the source, no AI can recover data that’s genuinely gone. Cleanup helps clarity; it can’t undo clipping.
Compressing before cleaning. Uploading a heavily compressed MP3 instead of the original WAV gives the AI less data to work with, which shows up as a slightly less natural result.
What to Do After Your Audio Is Clean
Once the background noise is gone, the cleaned track becomes the foundation for whatever comes next in your workflow.
If you’re building a full voiceover or want to generate additional narration that matches your cleaned tone, ytZolo’s AI voice generator can pick up right where the isolator left off.
And since audio is only half of what gets someone to click play, pairing that clean sound with a strong first impression matters just as much — a quick pass through a tool to create YouTube thumbnails with AI for free rounds out the upload before it goes live.
Frequently Asked Questions
Can I remove background noise from a video for free? Yes. Most AI voice isolators, including ytZolo’s Audio Studio, offer a free tier with limited processing minutes, which is usually enough for occasional cleanup.
Does removing background noise change how my voice sounds? A well-tuned voice isolator should preserve natural tone. If the result sounds robotic, it’s usually a sign of over-processing or a heavily compressed source file.
Can AI remove background noise directly from a video file, or do I need to extract the audio first? Modern tools extract the audio track automatically, process it, and let you re-sync or export the cleaned version — no manual extraction needed.
What’s the difference between removing background noise and using a voice changer? Removing background noise cleans up and separates the existing voice. A voice changer alters the tone or characteristics of that voice. They solve different problems.
How long does it take to remove background noise from a video? Short clips usually process in seconds to under a minute. Longer files, like a 30–90 minute podcast recording, typically take a few minutes.
Can AI fix wind noise or clipped audio? Light wind noise is usually fixable. Heavy wind distortion and clipped audio involve data that’s genuinely lost at the point of recording, so results are more limited.
Is it better to remove background noise before or after editing my video? Before. Cleaning the audio first means your edits, captions, and any voice generation work all build on a clear track instead of compounding noise issues later.
Does cleaner audio actually help my YouTube ranking? Indirectly, yes. Clean audio improves watch time and transcription accuracy, both of which factor into how YouTube surfaces a video in search and recommendations.
Final Thoughts
If there’s one takeaway from this guide, it’s this: you don’t need a treated studio, an expensive microphone, or hours of manual editing to remove background noise from video anymore. AI has closed that gap for most everyday creators.
An AI voice isolator handles the vast majority of common problems — fan hum, traffic, room echo, café chatter — in a fraction of the time manual tools like Audacity or Adobe Audition take, and without the steep learning curve that comes with them.
That doesn’t mean AI is flawless. Heavily clipped audio, severe wind distortion, and three or more overlapping speakers still push the limits of what any model can rebuild. Knowing those edge cases going in helps you set realistic expectations instead of expecting a miracle from a single upload.
For nearly everything else, the workflow is simple: upload, let the AI isolate the voice, preview, export. Whether you’re cleaning up a single YouTube video, an entire back catalog of podcast episodes, or a client call recording, the same core process to remove background noise from video applies.
Pair that with a few smart recording habits — a quieter room, a decent mic, proper gain levels — and a workflow that connects cleanup to whatever comes next, like dubbing, voiceover generation, or a fresh upload. Once that pipeline is in place, noisy audio stops being the thing that holds a video back, and cleanup becomes a five-minute step instead of a dreaded chore.
About the Author
Anshika Verma Email: anshika@ytzolo.com
Anshika Verma is a content researcher specializing in AI audio technology, YouTube production workflows, and search-optimized content strategy. Her work focuses on evaluating AI tools for creators against real-world recording and editing conditions, following Google’s Experience, Expertise, Authoritativeness, and Trust (E-E-A-T) framework.

