
By Anshika Verma · Updated July 2026 · 15 min read
Quick Answer
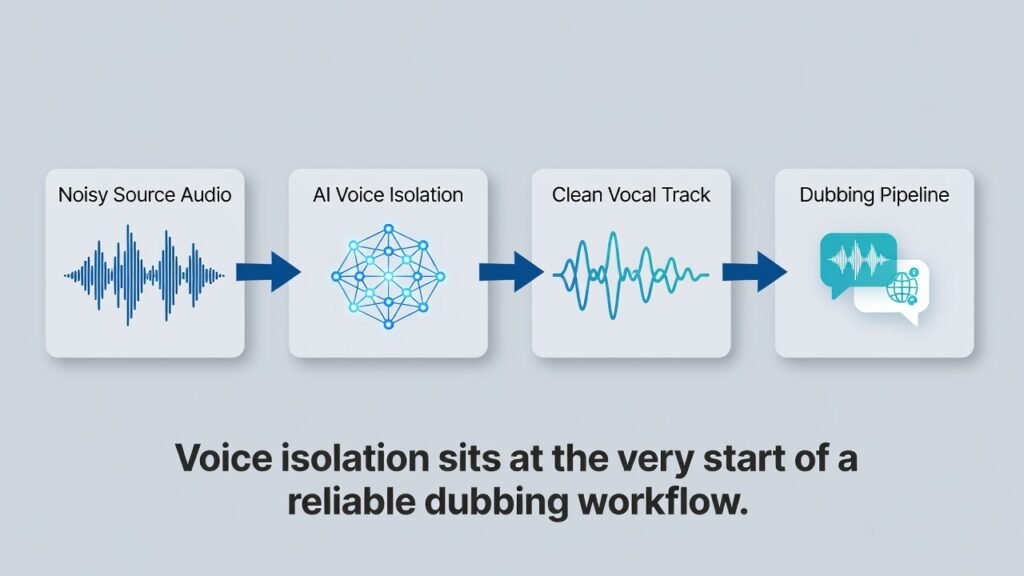
Voice isolation for dubbing is the process of separating a speaker’s voice from background noise, music, and ambience before translation and voice generation begin.
Clean input audio means fewer transcription errors, better-timed translations, and a dubbed track that actually sounds like it belongs in the video, not one that’s fighting the original room noise underneath it.
This guide walks through the complete workflow, step by step, using ytZolo’s AI Voice Isolator as the working example throughout.
Table of Contents
Why Voice Isolation Comes Before Dubbing, Not After
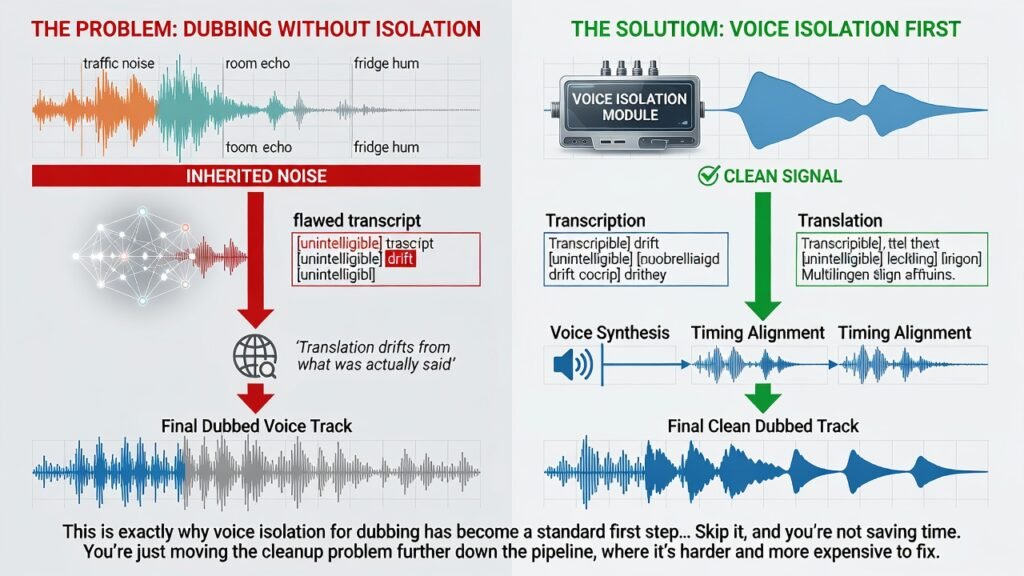
Dubbing software works from whatever audio it’s given. If that audio has traffic noise, room echo, or a fridge hum sitting under the dialogue, every downstream step inherits the problem.
Speech recognition misreads words when noise overlaps the voice. Translation drifts from what was actually said, because it’s working from a flawed transcript. The final voice track ends up sounding like it’s competing with the original background instead of replacing it cleanly.
This is exactly why voice isolation for dubbing has become a standard first step for creators and localization teams, not an optional polish step at the end. It gives every later stage — transcription, translation, voice synthesis, timing alignment — a clean signal to build from.
Skip it, and you’re not saving time. You’re just moving the cleanup problem further down the pipeline, where it’s harder and more expensive to fix.
Voice Isolation vs. Noise Reduction: A Quick Distinction
These two terms get confused constantly, and the difference matters specifically for dubbing prep.
Noise reduction lowers background volume across a frequency range. It doesn’t know or care what’s a voice and what’s a fan. Voice isolation is different — it identifies the speaker as a distinct source and rebuilds their voice separately from everything else in the recording.
For dubbing, that distinction is the whole point. You need the voice pulled out cleanly as its own track, not just quieted down while the noise floor stays underneath it. ytZolo’s guide on voice isolation vs. noise reduction breaks this comparison down in more depth if the distinction is new to you.
How AI Voice Isolation Works, Briefly
Understanding the mechanics behind voice isolation for dubbing isn’t required to use the tool, but knowing roughly what’s happening helps you troubleshoot when a result looks off.
The AI first converts your audio into a spectrogram, a visual map of frequencies over time. It then uses a neural network trained on speech and noise samples to recognize what a human voice looks like on that map, even when it overlaps a fan hum or passing traffic in the same frequency range.
From there, the voice and non-voice layers are separated, and the clean voice track is reconstructed. That reconstructed track — not the original noisy file — is what you carry forward into your dubbing pipeline.
What You Need Before You Start
A few things make voice isolation for dubbing go smoothly once you actually begin.
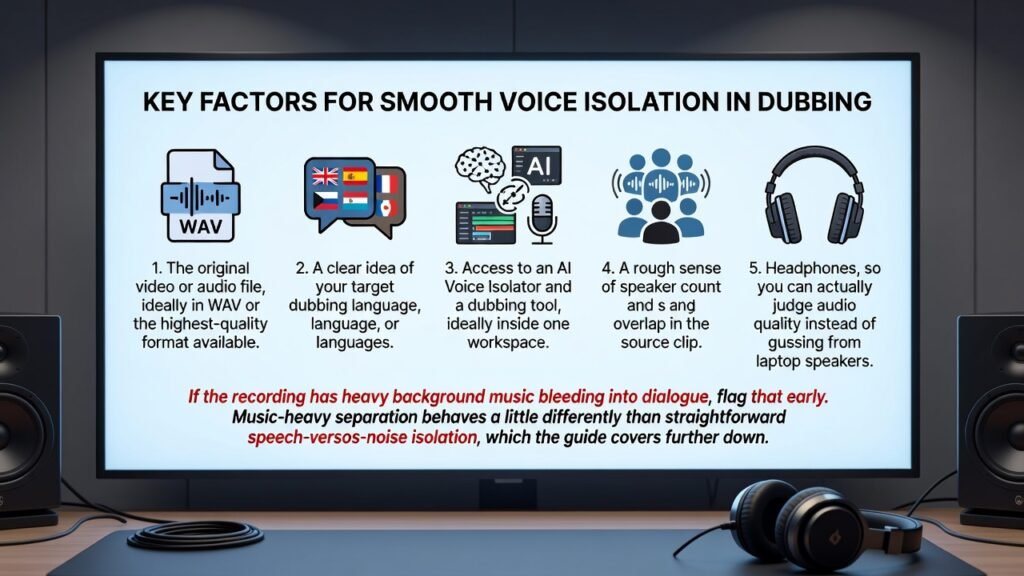
- The original video or audio file, ideally in WAV or the highest-quality format available
- A clear idea of your target dubbing language, or languages
- Access to an AI Voice Isolator and a dubbing tool, ideally inside one workspace
- A rough sense of speaker count and overlap in the source clip
- Headphones, so you can actually judge audio quality instead of guessing from laptop speakers
If the recording has heavy background music bleeding into dialogue, flag that early. Music-heavy separation behaves a little differently than straightforward speech-versus-noise isolation, which the guide covers further down.
Step-by-Step Workflow: Voice Isolation for Dubbing
Here’s the practical sequence, from raw footage to a dub-ready voice track.
Step 1: Extract the Source Audio
Start by pulling the audio track from your video file. Most modern tools, including ytZolo’s Audio Studio, do this automatically the moment you upload a video directly, so you rarely need a separate extraction step.
Keep the original file untouched somewhere safe. You’ll want that unprocessed backup if you ever need to re-run voice isolation for dubbing with a different setting, or a different tool, later on.
Step 2: Run the AI Voice Isolator
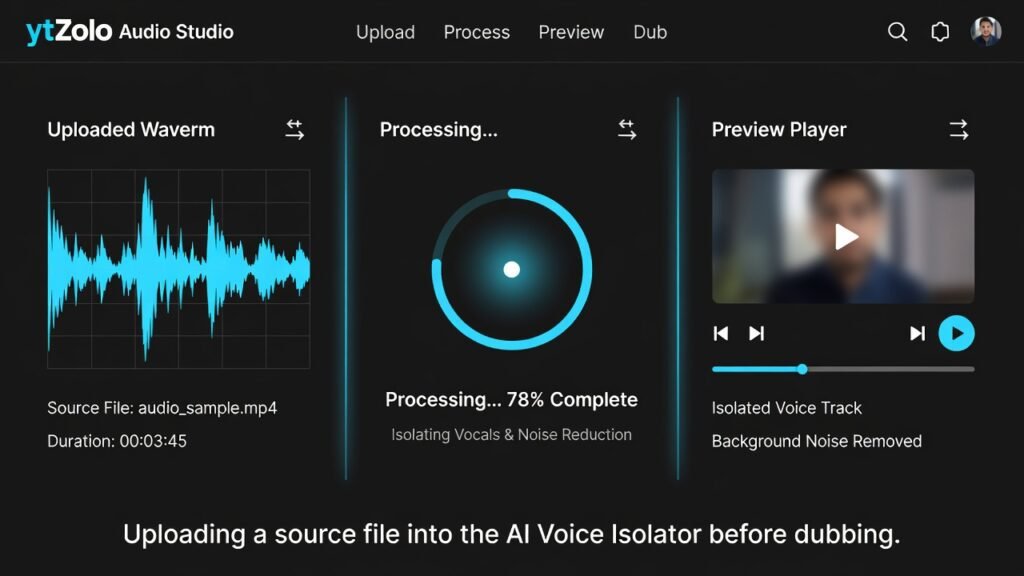
Upload the audio, or the video itself, into your voice isolation tool. The AI analyzes the spectrogram, detects speech patterns, and separates the voice from noise, music, and ambience.
This is the core of voice isolation for dubbing — everything before it is preparation, and everything after it depends heavily on how clean this single output turns out to be.
Step 3: Preview and Quality-Check the Isolated Track
Don’t skip this step, even when you’re in a hurry. Listen to the isolated voice on its own, separate from the rest of your workflow, before moving forward.
Check for three things specifically: does the voice sound natural rather than robotic, is background bleed fully gone, and does any word sound clipped or distorted at the edges. Catching an issue here costs a few seconds. Catching the same issue after translation and voice synthesis costs a full re-run.
Step 4: Handle Any Remaining Background Noise
Even a strong isolator occasionally leaves faint residual noise behind, especially on low-bitrate or heavily compressed source files. A quick pass to remove background noise from video at this stage tightens the track up before it moves further into the pipeline.
This step is optional for clean studio recordings but genuinely useful for outdoor footage, older archive clips, or phone-recorded interviews where the source was never great to begin with.
Step 5: Feed the Clean Track into Your Dubbing Pipeline
With a clean voice track ready, move into the actual dubbing process. This is where speech recognition, translation, and voice synthesis take over from isolation.
Because the input audio is already isolated, transcription accuracy improves noticeably, and translated timing lines up more naturally with the original speaker’s pacing instead of fighting background artifacts.
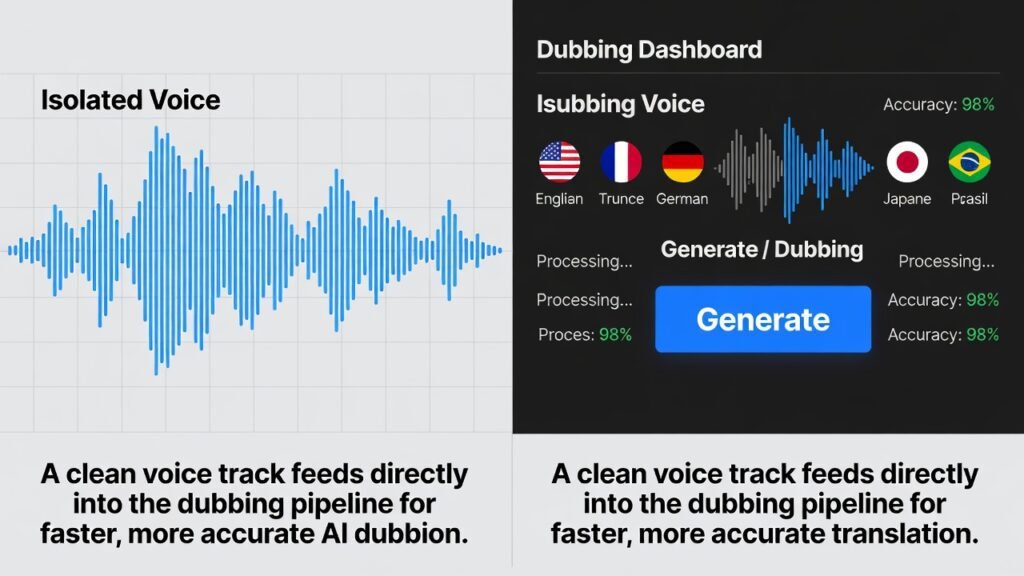
For the full breakdown of what happens at this stage — transcription, translation, voice cloning, and synthesis — see ytZolo’s guide to AI dubbing and localization.
Step 6: Choose Stock Voice or Voice Cloning
Once voice isolation for dubbing is complete and your clean track is inside the dubbing tool, decide whether the translated audio should use a stock AI voice or a cloned version of the original speaker’s voice.
Voice cloning makes the dub feel like the same person speaking a new language, which usually matters more for creator-facing or on-camera content. Only clone a voice you, or the speaker, have explicit rights and consent to use.
Step 7: Review the Translated Script Before Generation
This is the single highest-leverage step most creators skip. Reading the translated transcript before final voice generation catches awkward phrasing, mistranslations, and pacing mismatches while they’re still cheap to fix.
Skipping this review is the most common reason a dub that started with perfectly isolated voice still ends up sounding off.
Step 8: Sync, Review, and Export
Once the dubbed track is generated, review it against the original video for timing and tone. Forced alignment tools handle most of the pacing automatically, but a manual pass still catches the occasional awkward pause or rushed line.
Export the final dubbed audio, pair it with translated captions where relevant, and publish alongside localized titles and descriptions so the video actually surfaces in that language’s search results.
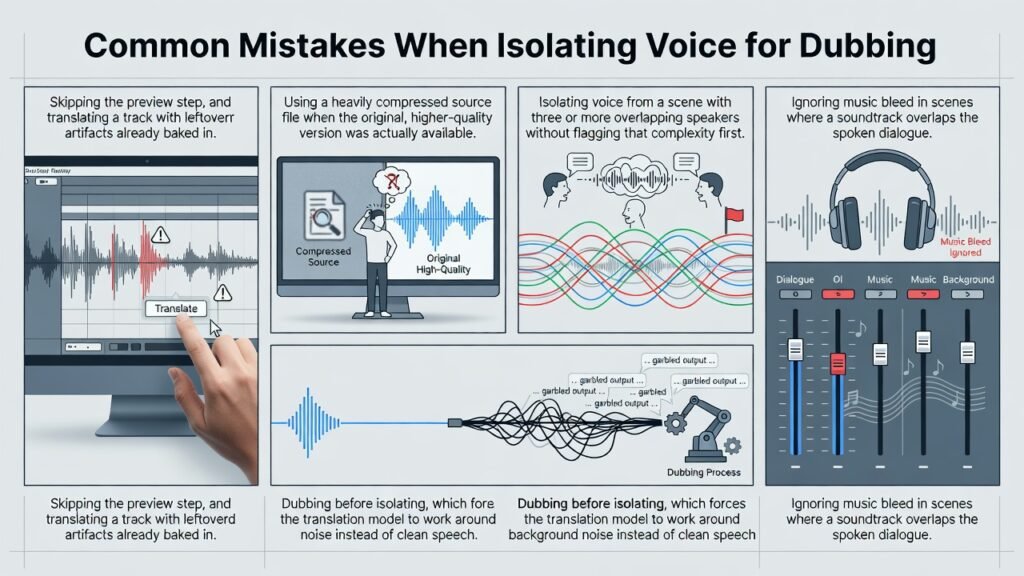
Common Mistakes When Isolating Voice for Dubbing
A few patterns show up repeatedly during voice isolation for dubbing and quietly undermine otherwise solid dubs.
- Skipping the preview step, and translating a track with leftover artifacts already baked in
- Using a heavily compressed source file when the original, higher-quality version was actually available
- Isolating voice from a scene with three or more overlapping speakers without flagging that complexity first
- Dubbing before isolating, which forces the translation model to work around background noise instead of clean speech
- Ignoring music bleed in scenes where a soundtrack overlaps the spoken dialogue
- Publishing without reviewing the translated script, treating the AI’s first pass as final instead of a draft
Most of these are avoidable simply by treating voice isolation for dubbing as its own checkpoint in the process, rather than a step to rush through on the way to something else.
Voice Isolation for Music-Heavy or Song-Based Content
Dubbing gets trickier when the source video has a soundtrack playing under the dialogue, or when you’re working with a musical segment specifically.
That’s a slightly different problem, closer to vocal-from-music separation than straightforward speech-from-noise isolation. If your project involves this, it’s worth reading how to extract vocals from a song before running the same file through a dubbing tool.
Keeping the background music intact while isolating only the spoken dialogue preserves the video’s original feel once the new-language track is added back in. Deleting the music entirely, rather than separating it, is a common shortcut that leaves the dubbed version feeling flat compared to the original.
AI Voice Isolator vs. Manual Audio Editing for Dubbing Prep
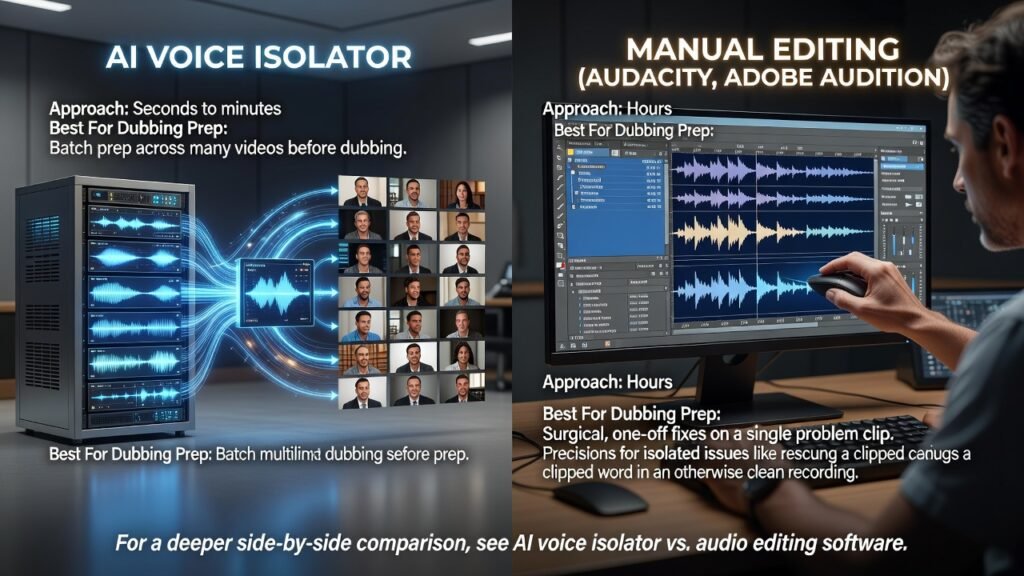
Manual editing in tools like Audacity or Adobe Audition can isolate a voice, but it’s slow, often an hour or more per file for careful, surgical cleanup.
An AI voice isolator handles the same task in seconds to a few minutes, which matters a lot when you’re prepping several videos for multilingual dubbing at once rather than cleaning up a single clip. For a deeper side-by-side comparison, see AI voice isolator vs. audio editing software.
Manual tools still earn their place for one-off, highly precise fixes, like rescuing a single clipped word in an otherwise clean recording. They just don’t scale well across a dubbing backlog of dozens of videos.
| Approach | Speed | Best For Dubbing Prep |
|---|---|---|
| AI Voice Isolator | Seconds to minutes | Batch prep across many videos before dubbing |
| Manual Editing (Audacity, Adobe Audition) | Hours | Surgical, one-off fixes on a single problem clip |
Recording Tips That Make Voice Isolation for Dubbing Easier
The cleanest AI result still starts with a decent source recording, so a short pre-recording checklist saves real editing time later.
- Turn off the AC or fan in the room before recording
- Close windows to cut down on outdoor and traffic noise
- Record in WAV format when the option is available
- Keep input gain moderate to avoid clipping the loudest lines
- Monitor with headphones while recording, rather than checking afterward
None of this requires a treated studio. Pairing a decent USB microphone with this checklist already puts a recording well ahead of what most creators upload for isolation and dubbing.
Real-World Use Cases
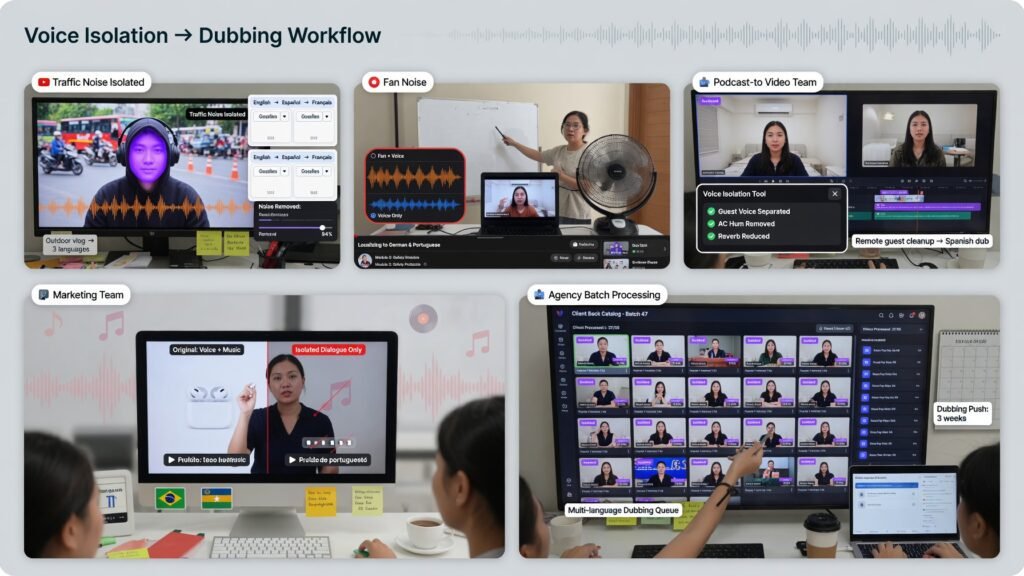
A few scenarios where this exact voice isolation for dubbing workflow shows up in practice:
- A YouTuber dubbing an outdoor vlog into three languages, isolating traffic noise before translation begins
- A course creator localizing training videos that were recorded with a fan running in the background
- A podcast-to-video team cleaning up a remote guest’s audio before dubbing the episode for a second-language audience
- A marketing team prepping a product demo for regional dubs, isolating dialogue from background music first
- An agency batch-processing a client’s back catalog, running isolation across dozens of videos before a multi-language dubbing push
Each case follows the same core sequence: isolate first, translate and generate second, review third.
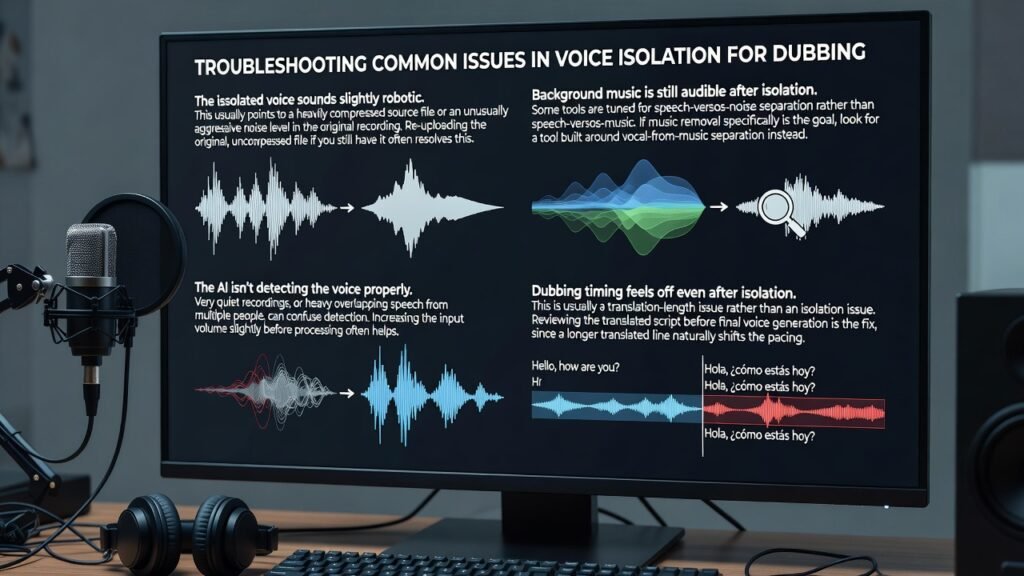
Troubleshooting Common Issues in Voice Isolation for Dubbing
The isolated voice sounds slightly robotic. This usually points to a heavily compressed source file or an unusually aggressive noise level in the original recording. Re-uploading the original, uncompressed file if you still have it often resolves this.
Background music is still audible after isolation. Some tools are tuned for speech-versus-noise separation rather than speech-versus-music. If music removal specifically is the goal, look for a tool built around vocal-from-music separation instead.
The AI isn’t detecting the voice properly. Very quiet recordings, or heavy overlapping speech from multiple people, can confuse detection. Increasing the input volume slightly before processing often helps.
Dubbing timing feels off even after isolation. This is usually a translation-length issue rather than an isolation issue. Reviewing the translated script before final voice generation is the fix, since a longer translated line naturally shifts the pacing.
Frequently Asked Questions
Do I always need to isolate voice before dubbing? Not always, but it’s strongly recommended for any source with background noise, music, or ambience. Clean studio recordings need less prep, though isolation still rarely hurts the end result.
Does voice isolation change how the speaker sounds? A well-tuned isolator should preserve natural tone. If the result sounds robotic, the source file was likely heavily compressed, or the original noise level was extreme to begin with.
Can I isolate voice from a video with background music and keep the music? Yes. This is closer to source separation than simple isolation, since the goal is separating dialogue and music into distinct layers rather than deleting one of them entirely.
How long does voice isolation take before dubbing? Typically seconds for short clips and a few minutes for longer files, well under the time manual editing would take for the same cleanup work.
What audio format works best for voice isolation before dubbing? WAV files give the cleanest results since they’re uncompressed. MP3 and AAC still work reasonably well but may show a slightly smaller quality gain after processing.
Can voice isolation fix a video with three or more overlapping speakers? Partially. Separation accuracy drops noticeably with heavy cross-talk, so flagging multi-speaker scenes before isolating helps set realistic expectations for the dub.
Does isolating voice improve dubbing translation accuracy? Indirectly, yes. Cleaner input audio improves speech recognition accuracy, and every later step, translation, timing, and voice synthesis, depends on that first transcription being right.
Is voice isolation the same tool as a voice changer? No. Isolation removes noise and separates the voice from everything else; a voice changer alters the tone or character of the voice itself. They solve different problems in a dubbing workflow.
Can I isolate voice and dub in the same platform? Yes, and it’s generally faster than switching tools. Platforms like ytZolo keep voice isolation and dubbing in the same workspace specifically to avoid exporting a file between separate apps.
Final Thoughts
Voice isolation for dubbing isn’t a nice-to-have extra step, it’s the foundation the rest of the dubbing process gets built on. A clean voice track leads to more accurate transcription, better-timed translation, and a final dub that sounds intentional rather than patched together after the fact.
For creators managing this end to end, keeping isolation, dubbing, and voice generation inside one workspace, like ytZolo’s Audio Studio, turns what used to be a five-app process into a single, connected workflow.
Try Voice Isolation with ytZolo
About the Author
Anshika Verma Email: anshika@ytzolo.com
Anshika Verma is a content researcher specializing in AI audio technology, YouTube production workflows, and search-optimized content strategy. Her work focuses on evaluating AI tools for creators against real-world recording, dubbing, and localization conditions, following Google’s Experience, Expertise, Authoritativeness, and Trust (EEAT) framework.

