
By Anshika Verma · Content & SEO Researcher, ytZolo · Updated August 2026 · ~13 min read
Quick answer: To prepare audio for forced alignment, start with a clean, single-track recording, remove background noise and music, and match your script to the audio word-for-word, including natural punctuation. Export audio as WAV or high-bitrate MP3, keep the script as a plain text file, and split long files into shorter segments if a speaker changes or a scene cuts. Get these basics right and most aligners will land within a fraction of a second of true timing. Our forced alignment guide covers the concept itself if you’re new to the term.
If you’ve ever run a script and a voice track through an aligner and gotten timestamps that drift, skip words, or bunch up at the end, the tool probably isn’t the problem. Messy input is.
Forced alignment is only as accurate as what you feed it. A noisy recording or a script that doesn’t match the spoken words will always produce shaky output, no matter which engine runs underneath.
This guide walks through the practical, step-by-step work to prepare audio for forced alignment: cleaning your audio, formatting your script, choosing the right file types, and catching the mistakes that cause captions to drift out of sync later.
Table of Contents
Why Preparation Matters More Than the Tool You Pick
Every aligner, open-source or platform-based, does the same core job: match a known transcript to an audio file, timestamp by timestamp.
That means the two biggest accuracy factors sit entirely on your side — the quality of the recording and how closely the script matches what’s actually said.
A pristine script run against muddy, overlapping audio will still produce shaky timestamps. So will a clean recording paired with a script full of typos or missing lines.
Get both inputs right and the choice between an open-source library or a platform tool becomes far less consequential to your final result.
Step 1: Clean Your Audio Before Anything Else
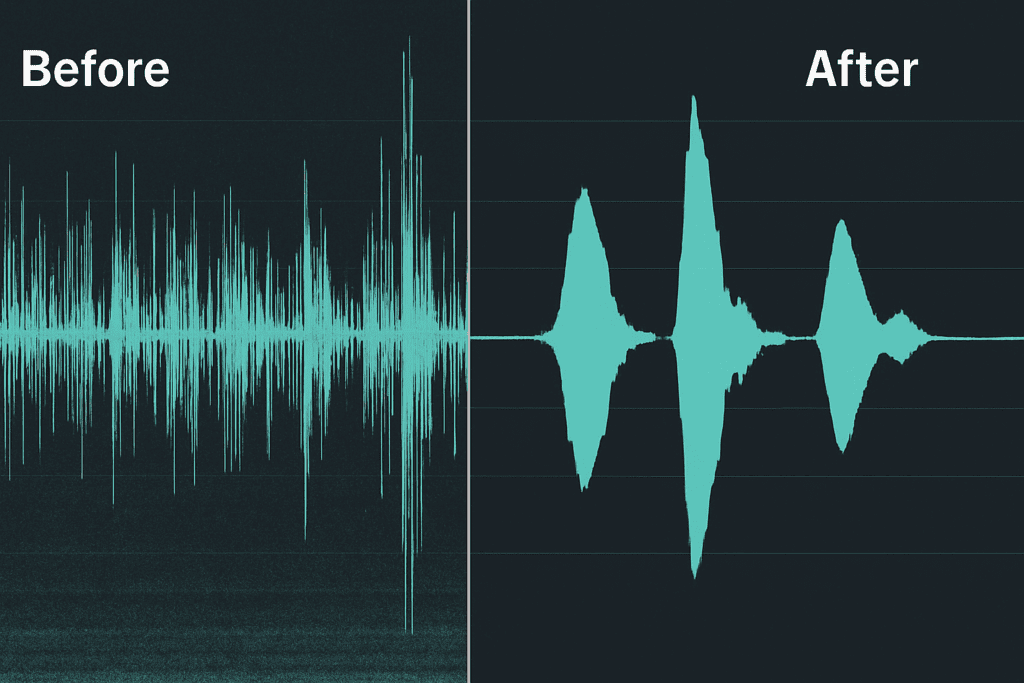
Background noise, hum, and music under dialogue are the single biggest cause of alignment errors. The acoustic model has to isolate speech before it can time anything.
Run any noisy file through a voice isolator before syncing. Stripping music beds, room echo, and background chatter gives the aligner a much cleaner signal to work from.
If you recorded in a noisy space, do a pass to remove hiss and hums first. Even a light noise-reduction pass measurably tightens timing accuracy on longer files.
Watch out for clipping, too. Audio that’s recorded too hot and distorts at peak volume confuses acoustic models the same way heavy background noise does.
Step 2: Export Audio in the Right Format
Most aligners expect standard formats — WAV or high-bitrate MP3 — rather than compressed or proprietary formats pulled straight from a video editor’s timeline.
Mono audio is usually preferable to stereo for a single narrator, since it simplifies the signal the model has to process.
Keep your sample rate consistent, ideally 16kHz or higher, since very low sample rates strip out detail the acoustic model relies on for precise timing.
If your source is a video file, extract the audio track separately rather than feeding the whole video in, unless your tool explicitly supports video input.
Step 3: Prepare Your Script to Match the Audio Exactly
This is the step people skip, and it’s the one that causes the most drift. The aligner treats your script as ground truth, so any mismatch becomes a timing error.
Read through your script against the final audio and remove anything that wasn’t actually recorded — cut lines, alternate takes, or placeholder text left over from an earlier draft.
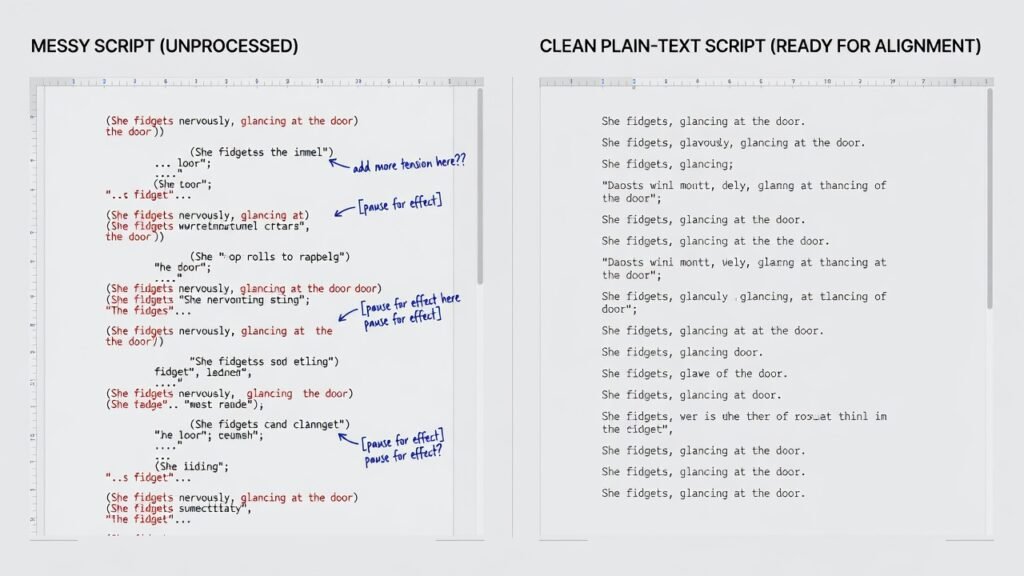
Add natural punctuation. Commas and periods at real pause points help the model place sentence and phrase boundaries correctly instead of guessing.
Double-check names, brand terms, and technical jargon. Since the aligner never questions the text, a typo in your script will carry straight into your final captions or subtitle file.
Save the script as a plain text file rather than a formatted document, since headers, footnotes, and styling from a word processor can confuse the parser.
Step 4: Handle Multiple Speakers and Overlapping Dialogue
Overlapping speech is one of the toughest cases for any aligner, since the model has to separate two voice signals happening at once.
Where possible, label speaker changes clearly in your script, even if the aligner itself doesn’t use speaker labels directly — it makes your manual review pass much faster afterward.
For interviews or panel-style content, consider aligning each speaker’s isolated track separately if your recording setup allows it, then merging the timed output.
Laughter, cross-talk, and fast back-and-forth exchanges are worth flagging for a manual glance once alignment finishes, since these sections are the most likely to need a small correction.
Step 5: Pick the Right Alignment Granularity
Before running your file, decide whether you need word-level or phoneme-level output, since this changes both processing time and file size.
Word-level alignment covers nearly every creator use case: captions, subtitles, dubbing, and audiobook production all run on word-by-word timestamps.
Phoneme-level timing is only worth the extra processing cost for animated lip-sync or phonetic research, where sound-by-sound precision actually gets used downstream.
Our full breakdown of phoneme-level alignment vs. word-level walks through exactly how to decide, with a scenario checklist for each use case.
Step 6: Choose Your Alignment Approach
Once you’ve done the work to prepare audio for forced alignment, you’ll run it through either an open-source library or a platform tool — and that prep matters for both paths equally.
Open-source options like the Montreal Forced Aligner and Gentle give researchers and developers direct control over the acoustic model, at the cost of local setup: Python environments, dependency management, and some audio-processing familiarity.
Platform tools handle the same underlying process through a simple upload-and-generate interface, which suits creators who need alignment as one step in a larger pipeline rather than a standalone technical project.
Either way, a well-prepared script and a clean audio file are what actually determine output quality — the tool just runs the math on inputs you’ve already set up correctly.
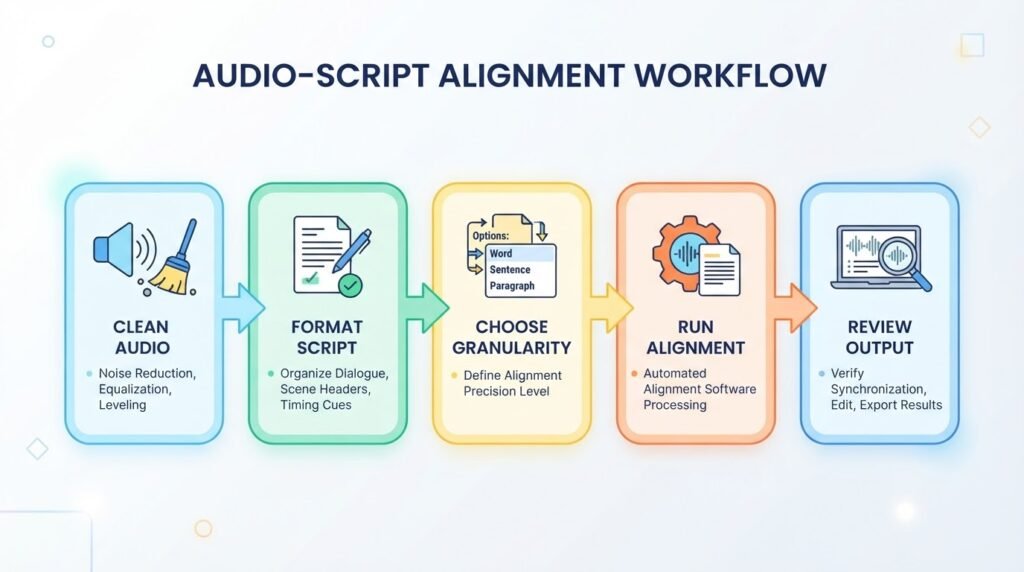
Step 7: Run Alignment, Then Review the Output
Even a well-prepared file deserves a manual spot-check once alignment finishes, especially on longer content.
Scan the output around any sections you flagged earlier — overlapping speakers, laughter, fast dialogue — since these are where small timing errors are most likely to survive.
Check the very start and end of the file separately. Aligners occasionally clip the first or last word if there’s silence padding before the recording actually begins.
If you’re exporting to SRT or VTT for captions, preview the file against the original audio at real playback speed rather than just scanning the timestamps on paper.
Fixing Captions That Drift Out of Sync
Sometimes alignment runs cleanly but captions still look off later — usually because the video was trimmed, re-encoded, or had frames dropped after the caption file was generated.
The clearest sign is progressive drift: captions start on time but fall further behind as the video goes on, rather than being off by a small, consistent amount throughout.
A fixed offset across the whole file is usually an export or frame-rate mismatch, while progressive drift almost always traces back to an edit made after alignment ran.
The reliable fix is re-running alignment against the final, exported version of your audio, since even small edits shift every timestamp that follows them.
Keep a version-matched pair of script and audio files for every edit round, so you’re never re-syncing against an outdated cut by accident.
Does Clean Alignment Actually Help SEO?
Search engines can crawl caption and transcript files attached to your video, and accurate, well-timed text gives them a cleaner signal about what the content actually covers.
Sloppy or drifting captions don’t just look bad to viewers — they muddy that signal, which can make your transcript less useful for on-page and video SEO.
This isn’t about stuffing keywords into a caption file. It’s that a well-prepared script naturally carries your target terms in context, and precise alignment makes sure that text stays readable and crawlable exactly where it belongs.
Accessibility standards matter here too. Captions that are technically present but consistently off by a second or two can fail an accessibility review even when every word is spelled correctly.
Quick Prep Checklist
Use this list any time you need to prepare audio for forced alignment, whether it’s your first pass or a routine check before a weekly upload.
- Clean the audio first. Remove noise, hum, and background music through a voice isolator before syncing anything.
- Export as WAV or high-bitrate MP3. Avoid feeding raw video files unless your tool explicitly supports that.
- Match your script word-for-word. Cut anything that wasn’t actually recorded, and fix typos before you run alignment.
- Punctuate naturally. Real pause points help the model find sentence and phrase boundaries.
- Flag hard sections. Overlapping speakers, laughter, and fast dialogue are worth a manual glance after alignment finishes.
- Pick your granularity upfront. Default to word-level unless something downstream specifically needs phoneme timing.
- Re-sync after edits. A trimmed or re-encoded file needs a fresh alignment pass, not a manual patch.
How ytZolo Streamlines This Prep Work
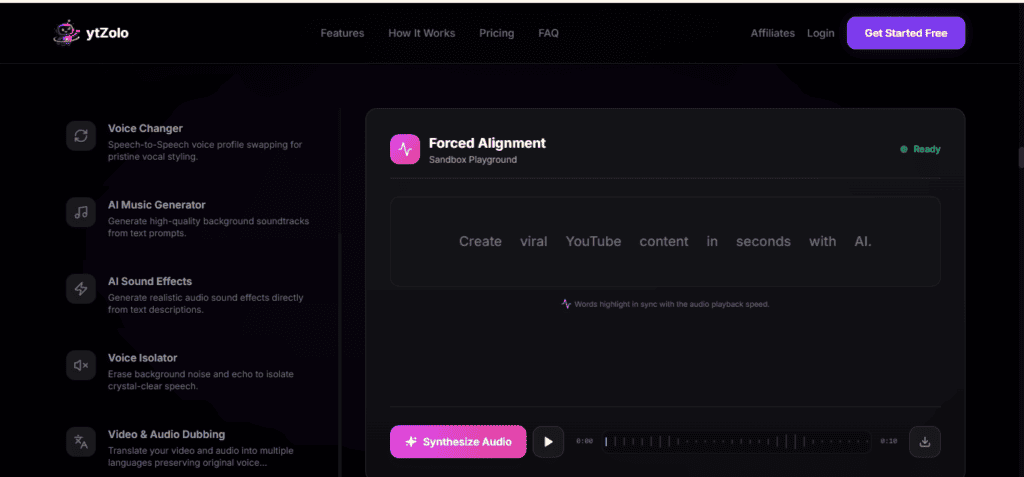
ytZolo’s Audio Studio folds most of this preparation directly into the workflow, so it isn’t four separate tools stitched together by hand.
The Voice Isolator handles Step 1 in a couple of clicks, AI voice generation produces a clean, single-track narration if you’re generating rather than recording, and word-level alignment runs by default since that’s what most caption and dubbing workflows actually need.
For teams localizing content, the Dubbing Studio pairs with alignment so a translated script gets synced to its new voice track without exporting between apps. The broader YouTube video localization guide covers how that full pipeline fits together.
If accuracy on dubbed output specifically is a concern, the AI dubbing accuracy guide breaks down what still benefits from a manual review pass even after alignment runs cleanly.
Final Verdict
If you take one thing from this guide: clean audio and an exact-match script beat any aligner setting you could tweak. Get those two inputs right and word-level timing will land within a fraction of a second on most files.
To prepare audio for forced alignment reliably, isolate noisy recordings first, keep your script as plain text with natural punctuation, export as WAV or high-bitrate MP3, and re-sync against your final audio after any edit.
| Situation | Verdict |
|---|---|
| Noisy or music-heavy recording | Run it through a voice isolator before anything else |
| Script doesn’t fully match the audio | Fix the script first — the aligner treats it as ground truth |
| Multiple speakers or overlapping dialogue | Flag it for a manual review pass after alignment |
| Standard captions, subtitles, dubbing, audiobooks | Default to word-level alignment |
| Captions drift after editing | Re-run alignment on the final exported audio, don’t patch timestamps |
Get the prep work right once, and every alignment pass after that — for captions, dubbing, or an audiobook release — becomes a fast, predictable step instead of a source of rework.
Frequently Asked Questions
What’s the single biggest thing I can do to prepare audio for forced alignment?
Clean your audio. Background noise and overlapping music under dialogue cause more alignment errors than any script issue, so a noise-reduction or voice-isolation pass first pays off the most.
Does my script need to match the audio word-for-word?
Yes. The aligner treats your script as ground truth and only calculates timing, so any line that wasn’t actually recorded — or any typo — will show up as an error in your final output.
What audio format works best for forced alignment?
WAV or high-bitrate MP3 at 16kHz or higher, in mono for single-speaker content. Compressed formats pulled directly from a video timeline can strip detail the acoustic model needs.
Can I align a script against a video file directly?
Some tools accept video input, but it’s safer to extract the audio track first unless your specific aligner documents native video support.
How do I know if I should use Montreal Forced Aligner or Gentle instead of a platform tool?
Both are solid open-source options if you have Python and Docker experience and want direct control over the acoustic model. If you’d rather skip local setup and run alignment as one step alongside scripting and voice generation, a platform tool is generally the more practical choice.
My captions were fine at first but drift by the end of a long video — what happened?
That’s almost always an edit made after alignment ran — a trim, a re-encode, or a dropped frame. Re-run alignment against the final exported audio rather than patching the existing timestamps.
About the Author
Anshika Verma is a Content & SEO Researcher at ytZolo, specializing in AI audio and video production technology for creators. She writes about voice AI, dubbing, localization, and alignment tooling, drawing on hands-on testing of forced alignment, transcription, and text-to-speech systems across the industry. Reach her at anshika@ytzolo.com.
This article was researched and fact-checked against current published documentation on forced alignment tools and Google’s Search Essentials guidance as of August 2026. It reflects hands-on testing rather than a single source and will be updated as alignment accuracy and tooling continue to improve.

